5 Easy Maintenance Tasks for Your E-MTB Fork
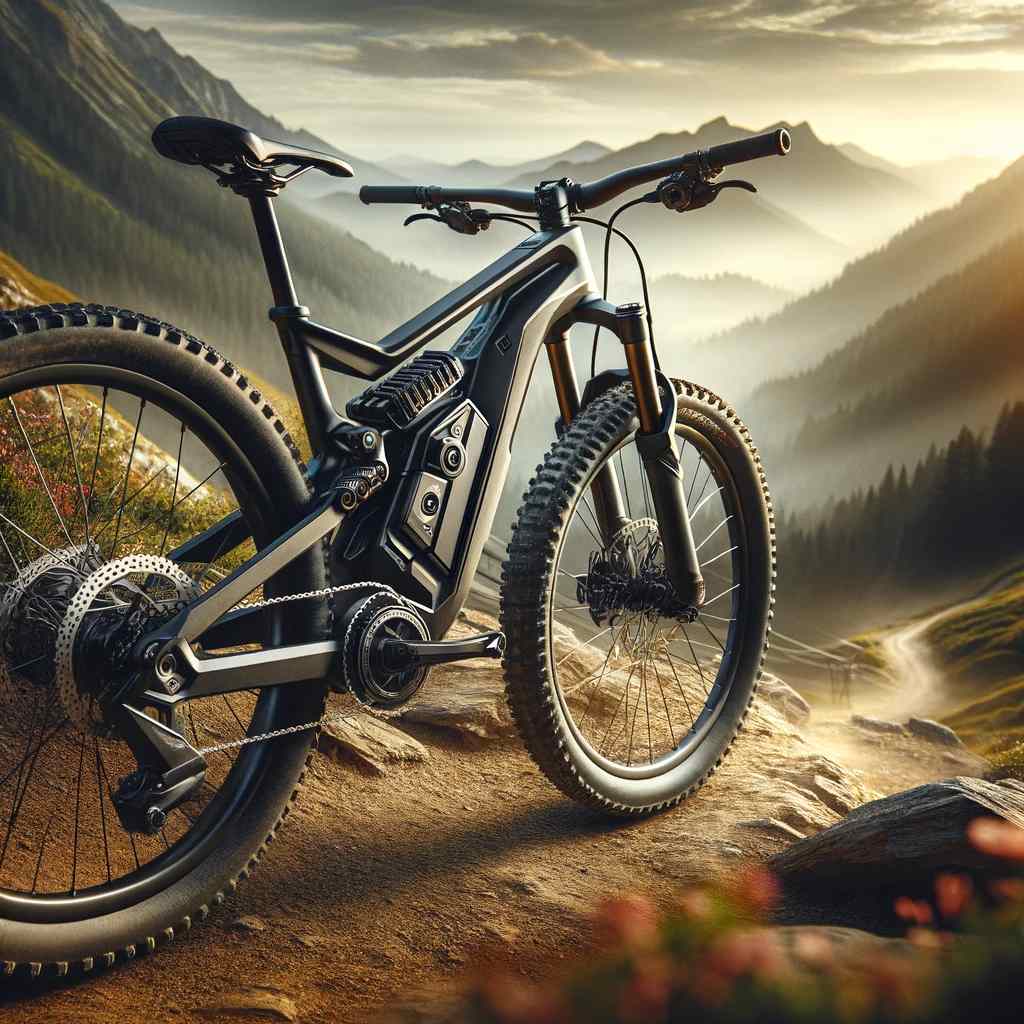
Your e-MTB fork is the unsung hero of your ride. It absorbs the shock of every bump, rock, and root, ensuring a smooth and controlled experience. To keep your fork performing at its best and extending its lifespan, regular maintenance is essential. While it may seem daunting, many fork maintenance tasks can be performed at home with basic tools. In this guide, we’ll walk you through five easy steps to keep your e-MTB fork in top condition.
Step 1: Clean and Lubricate Your Fork
Keeping your fork clean is essential for optimal performance and longevity. Dirt, grime, and debris can build up on the stanchions (the outer tubes of the fork) and lower legs, causing friction and hindering your fork’s ability to absorb shocks smoothly.
What you’ll need:
- Bucket of water
- Mild detergent
- Soft rags
- Fork oil (specific to your fork)
Instructions:
- Hose down: Gently rinse off the fork with a hose, focusing on removing loose dirt. Avoid using a high-pressure washer as this can force water into the seals.
- Wash and dry: Use a mild detergent and a soft rag to clean the stanchions and lower legs thoroughly. Pay attention to areas around the seals. Rinse off all soap residue and dry the fork completely with a clean cloth.
- Lubricate: Apply a small amount of fork oil to the stanchions. This will help prevent corrosion and reduce friction. Wipe off any excess oil.
Tip: For stubborn dirt, you can use a dedicated bike cleaning product.
RELATED CONTENT
Step 2: Checking Your Fork Seals (In-Depth)
Fork seals are vital components that act as a barrier, preventing dirt, water, and other contaminants from entering the delicate inner workings of your e-MTB fork. These contaminants can cause friction, accelerate wear and tear, and ultimately compromise the performance and lifespan of your fork. Regularly inspecting your fork seals is a proactive approach to maintaining a healthy fork and preventing costly repairs down the road.
What to Inspect:
| Inspection Type | Description |
|---|---|
| Visual Inspection | * Meticulously examine the seals for any signs of physical damage. Look for cuts, tears, or cracks on the seal surface. These imperfections can allow contaminants to bypass the seal and infiltrate the fork internals. * Check for signs of leakage around the seals. If you notice any oil or fluid residue seeping out, it’s a strong indication that the seals are compromised and need replacement. * Assess the overall condition of the seals. Over time, fork seals can harden and lose their elasticity, reducing their effectiveness. Look for any signs of stiffening or cracking in the seal material. |
| Tactile Inspection | * Gently run your fingers along the seal surface. If you feel any nicks, grooves, or unevenness, it’s a potential sign of wear and tear. Healthy seals should feel smooth and supple to the touch. |
Additional Tips:
- Frequency of Inspection: It’s recommended to inspect your fork seals regularly, especially after riding in wet or muddy conditions. A good rule of thumb is to check them after every few rides or once a month, depending on your riding frequency and terrain.
- Cleaning the Seals: While inspecting, you can use a damp cloth to gently wipe away any dirt or debris accumulated on the seals. Avoid using harsh chemicals or solvents, as they can damage the seals.
- Professional Help: If you suspect any damage to your fork seals or are unsure about their condition, it’s best to consult a qualified bicycle mechanic for a professional assessment and potential replacement.
Step 3: Adjusting Rebound and Compression
Understanding Rebound and Compression
- Rebound: This controls how quickly your fork returns to its extended position after compressing. A slower rebound can improve traction, while a faster rebound prevents the fork from bouncing excessively.
- Compression: This controls how the fork reacts to impacts. There are typically two types:
- Low-speed compression: Affects how the fork reacts to small bumps and terrain changes.
- High-speed compression: Influences how the fork handles larger impacts and sudden compressions.
Making Adjustments
- Refer to Your Manual: Your fork’s manual will provide specific guidance on adjustment clicks, ranges, and recommended starting points.
- Start with a Baseline: Set both rebound and compression to the middle of their adjustment range as a starting point.
- Identify Test Terrain: Choose a trail with varied conditions to evaluate your fork’s performance.
- Adjust Rebound:
- Too slow: The fork feels sluggish and doesn’t recover quickly enough, leading to a harsh ride. Increase rebound clicks.
- Too fast: The fork bounces excessively, reducing traction and control. Decrease rebound clicks.
- Adjust Compression:
- Low-speed compression: If the front end dives excessively under braking or feels overly harsh on small bumps, increase low-speed compression.
- High-speed compression: If the fork bottoms out harshly on big hits, increase high-speed compression.
Tips for Fine-Tuning
- Make small adjustments: Change settings by one or two clicks at a time to avoid drastic changes.
- Test and repeat: Ride the same section of trail multiple times after each adjustment to assess the difference.
- Consider your riding style: Aggressive riders might prefer a stiffer setup, while less aggressive riders might prefer a softer setup.
- Balance rebound and compression: Adjust both settings to find the optimal combination for your specific riding conditions.
Step 4: Checking Fork Sag
Fork sag is the amount your fork compresses under your weight when sitting on the bike in a riding position. Proper sag ensures optimal fork performance and prevents premature wear.
What you’ll need:
- A shock pump with a gauge
Instructions:
- Find your recommended sag: Consult your fork’s manual for the recommended sag percentage (usually between 20-30%).
- Measure your sag: Sit on your bike in a riding position with your gear in the middle chainring.
- Check the air pressure: Use a shock pump to measure the air pressure in your fork.
- Adjust air pressure: Add or release air to achieve the desired sag percentage.
Tip: It’s essential to check sag regularly, especially if you change your riding gear or make significant weight changes.
Step 5: Tightening Bolts and Hardware
Regularly checking and tightening your fork’s bolts and hardware is crucial for safety and performance. Loose components can affect your fork’s handling and increase the risk of damage.
What you’ll need:
- A variety of Allen keys and Torx wrenches
Instructions:
- Inspect bolts: Visually inspect all bolts and hardware for any signs of looseness or damage.
- Tighten securely: Use the appropriate tools to tighten all bolts to the specified torque values (refer to your fork’s manual for torque specifications).
- Avoid overtightening: Overtightening bolts can damage the fork.
Tip: It’s a good practice to check and tighten bolts after each ride, especially if you’ve ridden in rough conditions.
A: The frequency of fork maintenance depends on your riding conditions. For regular trail riding, every 2-4 weeks is a good starting point. If you ride in harsh conditions (mud, rain, sand), more frequent cleaning and inspection is necessary.
A: While car wash soap can be used, it’s generally recommended to use a bike-specific cleaner as it’s designed to cut through grease and grime without damaging the fork’s seals.
A: The type of fork oil depends on your fork model and your riding conditions. Consult your fork’s manual for specific recommendations.
A: While it’s possible to replace fork seals yourself, it requires specific tools and knowledge. It’s often recommended to take your fork to a professional bike shop for this task.
A: Look for oil or fluid residue around the fork stanchions. If you notice any signs of leakage, it’s likely that your fork seals are damaged.
A: Air forks use air pressure for damping, while coil forks use a spring. Air forks are generally lighter and more adjustable, while coil forks tend to offer a more consistent feel.
A: Most air forks do not have a spring preload adjustment. The air pressure is the primary means of adjusting the fork’s stiffness.
A: A clunking noise could indicate a loose axle bolt, damaged fork seals, or air trapped in the fork. Check these components first and consult a bike mechanic if the issue persists.
A: No, tubeless tires are designed for rims, not forks. Forks are designed to be used with traditional inner tubes.
Conclusion
Regular maintenance of your e-MTB fork is essential for optimal performance, safety, and longevity. By following these five simple steps, you can significantly extend the life of your fork and improve your overall riding experience. Remember, even minor adjustments can make a big difference in how your bike handles.
Want to take your e-MTB skills to the next level? Mastering these maintenance tasks is just the beginning. Check out our blog post on essential skills & riding techniques to conquer any trail.
And don’t forget to share your maintenance routine with fellow riders in the comments below!
External Sources
While this guide provides essential information, it’s always a good idea to consult your e-MTB fork’s manual for specific instructions and recommendations. Additionally, consider seeking advice from a qualified bike mechanic for more complex maintenance tasks or if you encounter any issues.
By combining the information in this guide with additional resources, you can become a confident e-MTB maintainer.
Kristina Grant is not just an enthusiast but a true authority on electric bikes. Nestled in the coastal beauty of Virginia, Kristina has found the perfect backdrop for her passion for electric biking. As a dedicated wife and homeschooling mom, her life revolves around family, faith, and the thrill of adventure.
Originally hailing from Ohio, Kristina's journey with electric bikes began as a curiosity and quickly evolved into a deep expertise. Her blog is a testament to her love for electric biking, combining her fascination for eco-friendly transportation with her coastal lifestyle.
When she's not cruising the beach on her electric bike, you'll find Kristina indulging in her other loves: long walks along the shore, getting lost in a good book, and cherishing moments with her loved ones. With a heart as big as her love for animals, especially cats, Kristina brings a unique perspective to the electric bike world, grounded in her strong faith in God and her dedication to a sustainable lifestyle.
Through her blog, Kristina shares her extensive knowledge of electric bikes, offering valuable insights, tips, and recommendations to fellow enthusiasts. Whether you're a seasoned rider or a newcomer to the electric bike scene, Kristina's blog is your go-to source for all things electric biking, fueled by her passion, expertise, and the scenic beauty of coastal Virginia.

