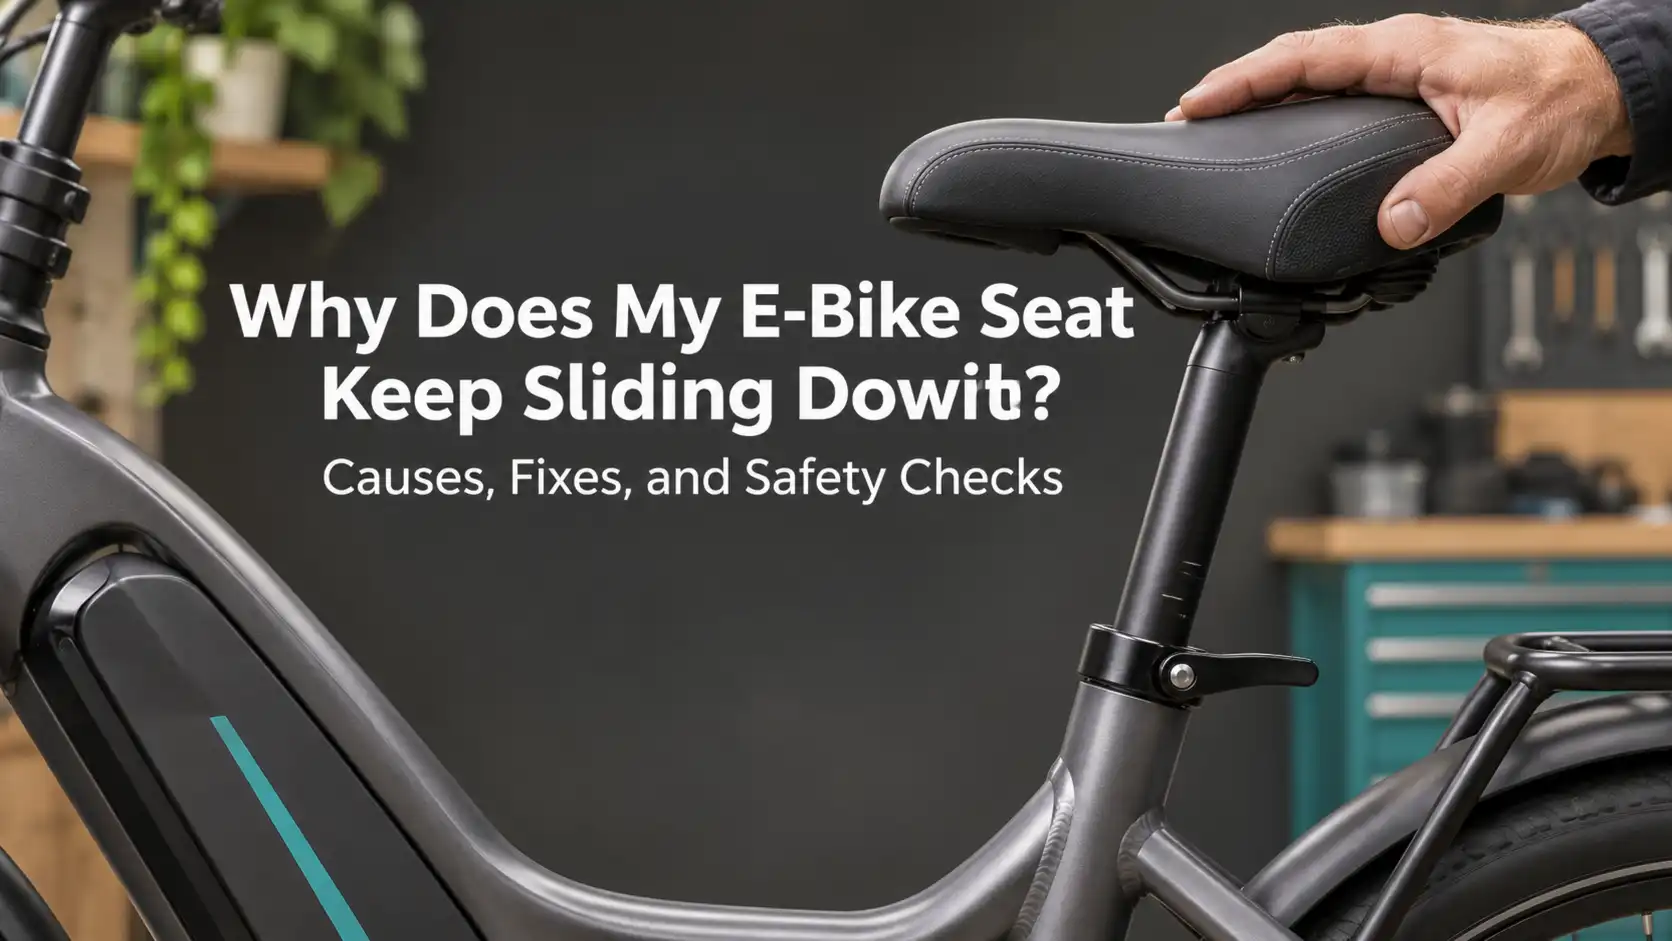
Why Does My E-Bike Seat Keep Sliding Down? Causes, Fixes, and Safety Checks
Last Updated on November 20, 2026 by Kristina

If your e-bike seat keeps sliding down while you’re riding, the problem may be a loose seatpost clamp, an incorrectly sized seatpost, damaged hardware, or improper installation.
A seat that gradually sinks can make pedaling uncomfortable and change your position. If it drops suddenly, it can also affect your balance and control. The important thing to know is that tightening the clamp isn’t always the solution.
In this guide, I’ll explain how to identify what’s slipping, check the likely causes safely, and decide whether you can adjust it yourself or need a bike shop. For other mechanical problems, start with my E-Bike Troubleshooting and Maintenance Guide.
Quick Answer: Why Does an E-Bike Seat Keep Sliding Down?
| Possible cause | What you might notice | First check |
|---|---|---|
| Loose seatpost clamp | Entire post gradually sinks | Clamp adjustment and specified torque |
| Incorrect seatpost size | Post moves despite proper tightening | Manufacturer-required diameter |
| Damaged clamp or bolt | Clamp cannot hold securely | Cracks, deformation, damaged threads |
| Incorrect assembly preparation | Post repeatedly slips | Material-specific installation instructions |
| Insufficient insertion | Post is raised too high | Frame and post minimum-insertion requirements |
| Frame or seat-tube damage | Persistent or unusual movement | Stop riding and arrange inspection |
| Dropper or suspension post issue | Saddle sinks while outer post stays fixed | Internal mechanism and controls |
| Loose saddle rail clamp | Saddle tilts or slides | Hardware beneath saddle |
Start here: Determine whether the entire seatpost moves into the frame or only the saddle moves. They are different problems.
60-Second E-Bike Seatpost Troubleshooting Checklist
Turn the bike off and stabilize it safely before inspecting anything.
- ☐ Check whether the entire seatpost moves or only the saddle shifts.
- ☐ Look for cracks, deformation, and damaged clamp hardware.
- ☐ Identify a quick-release, bolt-on, or integrated clamp.
- ☐ Confirm that both seatpost and frame insertion requirements are met.
- ☐ Compare the post diameter with the manufacturer’s specifications.
- ☐ Find the applicable installation and tightening instructions.
- ☐ Stop riding if the seatpost cannot be secured correctly.
Safety reminder: Completing this checklist does not prove the bike is safe to ride. If the post still slips, have it inspected.
Safety First: When Should You Stop Riding?
A slipping seatpost can interfere with your balance, pedaling position, and control. Stop riding if the seat suddenly drops, the post keeps moving after correct installation, the clamp cannot hold it securely, or you see cracks, deformation, bent components, stripped hardware, or inadequate insertion depth.
Never exceed the manufacturer’s tightening specification to compensate for slipping. Excessive clamping force can damage the post, clamp, or frame. Carbon components require particular care.
How to Tell What’s Actually Slipping
| What happens | Possible cause | Next step |
|---|---|---|
| Entire post slides into frame | Clamp, fit, or installation issue | Inspect compatible clamping components |
| Saddle tips or slides on rails | Saddle rail clamp issue | Follow saddle mounting instructions |
| Dropper post sinks; outer post stays fixed | Dropper mechanism or controls | Consult post manufacturer’s service guidance |
| Suspension post compresses under weight | May be intended suspension travel | Check the product’s expected movement |
| Post slips after correct adjustment | Fit, clamp, or frame problem | Stop riding and request inspection |
The Entire Seatpost Slides Into the Frame
This guide focuses on the post moving down inside the frame, lowering the saddle height. Possible causes include insufficient clamping force, wrong diameter, or damaged hardware.
The Saddle Tilts or Slides on Its Rails
If the post stays at the same height but the saddle shifts, inspect the saddle rail clamp beneath the saddle. It is a different mechanism with its own assembly and torque requirements.
A Dropper or Suspension Seatpost Sinks
Suspension posts are designed to compress under load, and dropper posts allow saddle height to change using a control. Unexpected sinking can indicate a mechanism or control issue. Don’t assume the frame clamp is responsible or disassemble pressurized components without appropriate guidance.
1. Check the Seatpost Clamp
The clamp usually sits where the seatpost enters the frame. Designs include quick-release, bolt-on, and integrated systems.
Quick-Release Clamp
Inspect the lever and surrounding components. Confirm the lever closes and adjusts according to your manufacturer’s instructions. Very little closing resistance can indicate insufficient force, but don’t force a damaged or poorly fitting clamp tighter.
Bolt-On Clamp
Look for cracks and thread damage. Find the applicable frame and component tightening instructions and use an appropriate torque wrench when a torque value is specified. There is no universal torque for every e-bike seatpost clamp. If specifications conflict or are unavailable, consult the manufacturer or a mechanic.
For more general assembly and adjustment advice, see my How to Set Up Your New E-Bike.
2. Make Sure Your Seatpost Is the Correct Size
A slightly undersized seatpost can slip even when the clamp appears tight. Common diameters include 27.2 mm, 30.9 mm, and 31.6 mm, but other sizes exist. The correct one is whatever your particular frame requires.
- Check the official bicycle specifications or manual.
- Read the marking on your post, if accessible.
- Compare the specified diameter and any adapter requirements.
- Have a shop measure parts if the size is uncertain.
Seatpost diameter and the external seat-tube diameter used to choose a separate clamp are not the same measurement. Use a shim only if that specific shim and post/frame combination is permitted. Never improvise with tape or scraps of metal.
3. Inspect the Seatpost and Seat Tube
Dirt, residue, incorrect assembly products, and component damage can contribute to installation problems. The correct cleaning and preparation method depends on the frame and post materials.
- Turn off and safely stabilize the e-bike.
- Record the saddle height.
- If permitted, release the clamp and remove the post without forcing it.
- Inspect the post, accessible seat-tube opening, and clamp for cracks, deformation, gouges, and unusual wear.
- Follow manufacturer-approved cleaning and installation instructions.
If the post is stuck, stop instead of forcing it.
Should You Grease a Slipping Seatpost?
Not automatically. Some compatible metal-to-metal installations use grease or anti-seize to help prevent corrosion, but carbon-related installations require specific guidance. Ordinary grease is prohibited on some carbon clamping surfaces, and suitable friction-enhancing assembly compound may be specified in other applications. Never treat any paste as a substitute for correct fit and undamaged parts.
4. Check the Minimum Seatpost Insertion Mark
Most conventional posts include a minimum-insertion marking. You must satisfy both that marking and any additional insertion or support requirements from the frame manufacturer. Raising a post beyond those limits can create a structural hazard.
If the saddle needs to be higher than permitted, ask about a correctly sized longer post rather than pulling the existing post too far out. My E-Bike Size Calculator can help with general fit, but it cannot establish the safe insertion depth for an individual frame.
5. Why Does My E-Bike Seatpost Keep Slipping After I Tighten It?
Persistent slipping after correct adjustment suggests another issue: wrong post size, damaged or incompatible clamp, missing or unsuitable shim, incorrect preparation, seat-tube damage, or an installation procedure that doesn’t match the specifications. Don’t keep increasing clamp force or ride to test an unsecured post.
Need Help Fixing Your E-Bike Seatpost?
If your post keeps slipping after proper adjustment, or you suspect damaged hardware or frame components, have a qualified mechanic inspect it.
Use my E-Bike Repair Directory to search for repair shops and service options in your area. Coverage is growing, so contact the shop first to confirm it works on your e-bike brand and can inspect seatpost clamps, fit, and frame components.
6. Does the Seatpost Clamp Need Replacing?
Check for a cracked or deformed clamp, damaged bolt threads, missing parts, or a quick-release mechanism that doesn’t operate as designed. If replacement is appropriate, confirm compatibility with the frame manufacturer. Some e-bikes use proprietary or integrated clamping mechanisms, and the clamp size is not chosen solely from the seatpost diameter.
7. How to Check Whether Your Seat Height Is Changing
Once the post has been correctly installed and secured, use a repeatable reference measurement to recognize changes during future inspections.
- Place the bicycle upright on a stable surface.
- Measure from a consistent reference, such as bottom-bracket center, to a defined point on the saddle.
- Record the measurement and date.
- Inspect periodically for visible movement or damage and compare readings.
A removable finish-safe reference mark may help where permitted. Avoid scratching the post or applying permanent marks to carbon components. Do not use a road ride to test a seatpost that cannot be reliably secured.
8. Special Considerations for Folding E-Bikes
Many folding e-bikes have long seatposts and quick-release clamps. Frequent height adjustment for storage makes pre-ride checks important. Confirm the lever operates correctly, insertion requirements are met, parts are compatible, and nothing is damaged. Follow your model’s specific folding and seatpost instructions.
9. Could a Slipping Seatpost Be Covered by Warranty?
Possibly, depending on the defect, purchase circumstances, and the manufacturer’s written terms. For a new or recently purchased e-bike, contact the seller or manufacturer before replacing parts or modifying the clamping system.
Provide the bike model, purchase information, photos of the clamp and post, when slipping began, any aftermarket parts, and adjustments already attempted. Ask whether a warranty inspection or authorized service is available. Coverage is not guaranteed.
Useful Tools and Accessories
Torque wrench and matching bits. Tightens the clamp bolt to the manufacturer’s specified torque.
Correct-size hex keys. Loosen or adjust a compatible bolt-on seatpost clamp.
Clean, lint-free cloth. Wipes away dirt so you can inspect the seatpost and clamp.
Manufacturer-approved assembly compound. Can help improve grip where the bike manufacturer recommends it.
Compatible replacement clamp. Use one if you confirm the original clamp is damaged or the wrong size.
Start with your bike manufacturer’s instructions and the tools you already own. Identify what’s causing the seatpost to slip before buying a replacement post or clamp. For other maintenance and riding products, see my Best E-Bike Accessories Guide.
How to Prevent Your E-Bike Seat From Sliding Down Again
Check saddle height before riding, inspect the clamp for damage or movement, follow the correct torque limits, and verify compatibility when upgrading posts or shims. After a crash or significant impact, inspect components before continuing to ride.
These checks fit naturally into my E-Bike Maintenance Checklist, which covers weekly, monthly, and longer-term maintenance tasks.
Frequently Asked Questions
Why does my e-bike seat drop when I sit on it?
First identify whether the whole post slides into the frame or an adjustable post mechanism moves. The causes and repairs differ.
Can I tighten the seatpost clamp myself?
On many conventional systems, yes, if there is no damage and you have the correct installation instructions and tools. Never exceed specified limits. Integrated systems may need specialist service.
Can carbon assembly paste stop slipping?
It can help in some manufacturer-approved applications but won’t fix wrong sizing, damaged hardware, or frame defects.
Why does my saddle tilt forward while the post stays fixed?
That suggests a saddle rail clamp or mounting issue rather than a seat-tube clamp problem.
Do I need a new seatpost?
Not necessarily. The clamp, sizing, or installation may be responsible. Replace components only when their condition or incompatibility warrants it.
Is it safe to ride with a slipping seatpost?
No. Stop riding if the post moves unexpectedly or cannot remain securely installed until the problem is corrected.
My Take
A slipping e-bike seat might seem minor, but I wouldn’t ignore it. The biggest mistake I’d want riders to avoid is repeatedly tightening a clamp without understanding why the post moves.
I’d start with the easy checks, confirm the maker’s specifications, and look for damage. If the post still won’t stay put, I’d have a qualified bike mechanic inspect it. The goal is a correctly fitted, securely installed seatpost, not a temporary fix.
🔎 Why You Can Trust This Guide
This research-based guide draws on bicycle-component maintenance guidance and manufacturer documentation covering seatpost installation, clamping, compatibility, and adjustment. It does not claim that EBE personally performed these repairs. If parts are damaged or the post cannot be secured, stop riding and seek professional help.
Disclosure: As an Amazon Associate, I earn from qualifying purchases. This comes at no extra cost to you and helps support the content on this site.
Sources
- Park Tool – How to Remove and Install a Seatpost
- Park Tool – How to Adjust a Bike Saddle and Seatpost
- Park Tool – Torque Specifications and Concepts
- Park Tool – Guide to Bicycle Lubricants and Compounds
- Trek – Lubricants and Threadlockers

Kristina is not just an enthusiast but a true authority on electric bikes. Nestled in the coastal beauty of Virginia, Kristina has found the perfect backdrop for her passion for electric biking. As a dedicated wife and homeschooling mom, her life revolves around family, faith, and the thrill of adventure.
Originally hailing from Ohio, Kristina's journey with electric bikes began as a curiosity and quickly evolved into a deep expertise. Her blog is a testament to her love for electric biking, combining her fascination for eco-friendly transportation with her coastal lifestyle.
When she's not cruising the beach on her electric bike, you'll find Kristina indulging in her other loves: long walks along the shore, getting lost in a good book, and cherishing moments with her loved ones. With a heart as big as her love for animals, especially cats, Kristina brings a unique perspective to the electric bike world, grounded in her strong faith in God and her dedication to a sustainable lifestyle.
Through her blog, Kristina shares her extensive knowledge of electric bikes, offering valuable insights, tips, and recommendations to fellow enthusiasts. Whether you're a seasoned rider or a newcomer to the electric bike scene, Kristina's blog is your go-to source for all things electric biking, fueled by her passion, expertise, and the scenic beauty of coastal Virginia.