E-Bike Brake Cutoff Sensor Stuck? Causes, Fixes, and When to Stop Riding
Last Updated on September 13, 2026 by Kristina
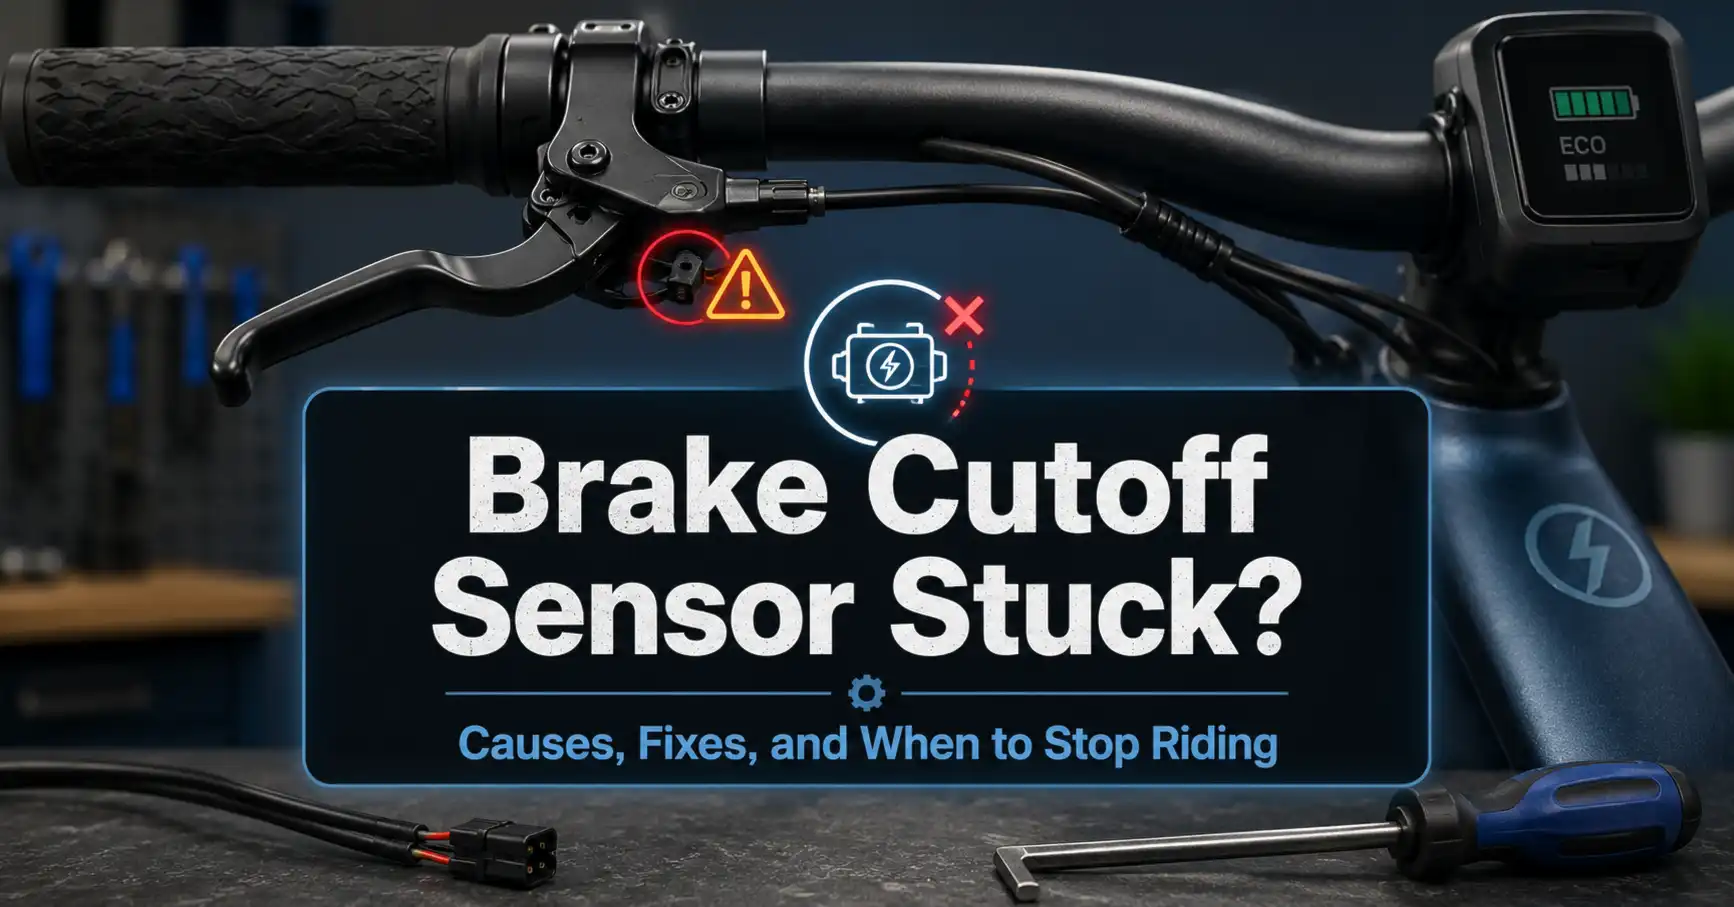
An e-bike brake cutoff sensor that stays active can make the bike seem like it has a motor, controller, throttle, or pedal-assist problem. On an e-bike equipped with brake cutoff sensors, the controller normally stops motor assistance when you pull a brake lever. If that brake signal remains active after the lever is released, the motor may refuse to run.
The safest place to start is with the brake lever itself, the brake indicator on the display if your bike has one, and the accessible sensor connectors. Do not assume the sensor needs to be replaced immediately. A slow-returning lever, sensor misalignment, loose connector, damaged cable, or moisture at a connection can create similar symptoms.
If your bike powers on normally but will not provide motor assistance, my e-bike troubleshooting and maintenance guide can help you rule out other common causes. You can also use the Electric Bike Explorer tools hub for additional diagnostic resources.
What a Stuck Brake Cutoff Sensor Usually Means
If your e-bike has brake cutoff sensors and the motor will not engage after you release the brakes, check these things first:
- Make sure both brake levers return completely to their normal resting positions.
- Look for a brake symbol or brake-related error on the display, if your system provides one.
- Turn the bike off before touching electrical connectors.
- Inspect accessible brake-sensor connectors for looseness, contamination, moisture, bent pins, or obvious damage.
- Look for wiring that becomes tight, pinched, or disturbed when the handlebars turn.
- If the problem started after a brake adjustment, lever replacement, crash, transport, or washing, inspect that area carefully.
- Follow the manufacturer-specific procedure before unplugging, adjusting, or replacing a sensor.
Do not permanently bypass a brake cutoff system simply to make the motor run again.
🔎 Why You Can Trust This Guide
I use manufacturer instructions, established safety guidance, technical references, and common rider-reported symptoms to help identify likely e-bike problems and the safest checks to try first. I separate simple owner checks from advanced electrical diagnosis and avoid treating one symptom as proof that a specific part has failed. You can read more about how Electric Bike Explorer researches and verifies its information, including troubleshooting guides, e-bike reviews, buying guides, safety information, and e-bike laws.
Brake light not working too? A brake-cutoff problem and a brake-light problem can sometimes appear together, but they are not necessarily the same fault. If your taillight works but does not brighten when braking, or your headlight, taillight, brake light, or turn signals are not working correctly, use my E-Bike Lights Not Working troubleshooting guide to narrow down the lighting problem safely.
60-Second Diagnosis
Before taking anything apart, try this quick check.
- Stop riding and place the bike somewhere stable.
- Turn the bike off.
- Squeeze and release each brake lever several times.
- Check that each lever snaps or returns normally to its resting position.
- Look for a lever that feels sticky, bent, unusually loose, or slow to return.
- Turn the bike back on.
- If your display has a brake indicator, confirm whether it remains active with both levers released.
- Turn the handlebars slowly from side to side while the bike remains stationary. If an error or brake indication appears or disappears, inspect the cable routing and connectors before riding.
If the brake itself feels abnormal, drags badly, does not return correctly, or has weak stopping power, stop troubleshooting the electrical side and address the mechanical brake problem first.
Interactive Diagnostic Tool
E-Bike Brake Cutoff Sensor Diagnostic Tool
Answer the questions below to narrow down whether a stuck brake cutoff sensor, brake lever, wiring issue, moisture, or another e-bike problem may be causing your symptoms.
Likely Cause
Why This Fits
What to Do Next
Can I Ride It?
Related Guides That May Help
Important: This tool provides general troubleshooting guidance, not a confirmed diagnosis. Brake cutoff systems vary by e-bike brand and model. Follow your owner's manual and manufacturer instructions, and stop riding if braking or motor control is unpredictable.
Safety First
A brake cutoff sensor is part of the interaction between your braking system and the bike's motor controls. Do not sacrifice normal braking performance just to restore motor assistance.
Turn the bike off before disconnecting electrical connectors. If the battery is designed to be removable and the manufacturer recommends removing it before service, remove it according to the owner's manual.
Stop using or charging the bike if you notice smoke, swelling, unusual heat, sparks, melted connectors, seriously damaged wiring, leaking, a strong chemical odor, or evidence of major water intrusion. Do not open a lithium-ion battery pack or improvise repairs to battery wiring.
If either brake is mechanically unsafe, do not ride the bike until the brake is repaired.
Symptoms and What They May Mean
| Symptom | Possible cause | Safe first check |
|---|---|---|
| Display works but motor never engages | Brake signal may remain active | Check lever return and brake indicator |
| Brake icon stays on | Lever, sensor, alignment, connector, or wiring issue | Release both levers and inspect each lever |
| Motor works intermittently over bumps | Loose or damaged connection is possible | Inspect accessible connectors and cable routing |
| Fault changes when handlebars turn | Cable strain or an intermittent connection is possible | Check for tight, pinched, or stretched wiring |
| One brake lever returns slowly | Mechanical lever or brake problem | Correct the brake issue before electrical diagnosis |
| Problem started after brake adjustment | Sensor position or lever setup may have changed | Recheck the work using manufacturer instructions |
| Problem started after lever replacement | Wrong part, sensor position, or incompatibility is possible | Verify the exact replacement part |
| Problem started after rain or washing | Moisture may be affecting a connection | Power off and inspect accessible connectors |
| Motor does not cut off when braking | Sensor may not be signaling correctly | Stop and have the cutoff system checked |
These symptoms are clues, not proof of a particular failed component.
Is the Sensor Actually Stuck, or Is the Brake Lever Not Returning?
A common mistake is assuming the electrical sensor has failed when the brake lever itself is not returning fully.
On some e-bike brake systems, the cutoff sensor works with a magnet or other mechanism associated with lever movement. If the lever does not reach its normal resting position, the controller may continue receiving a brake-applied signal.
Check for:
- Dirt or debris around the lever.
- A bent or damaged lever.
- A lever that binds or returns slowly.
- Incorrect lever adjustment.
- A problem that appeared immediately after brake service.
- An add-on sensor or magnet that has moved out of its specified position.
Do not spray lubricant onto brake pads or rotors. Contaminated braking surfaces can seriously reduce stopping performance.
Integrated Sensors vs. Add-On Brake Sensors
Not every e-bike uses the same brake cutoff design, and some e-bikes do not use brake cutoff sensors at all.
Sensors Built Into the Brake Lever
Some e-bike brake levers include the sensor as part of the lever assembly. Depending on the design, repair may involve adjustment, sensor replacement, or replacement of the appropriate lever assembly.
Do not assume a lever with the same connector shape is electrically compatible.
External or Add-On Sensors
Some systems use an external sensor and magnet mounted near the brake lever.
If the sensor or magnet moves, the signal can behave incorrectly. Adjustment must follow the spacing and position specified by the sensor or brake manufacturer.
A sensor that looks misaligned should not be repositioned by guesswork if the correct specification is available.
Step-by-Step Checks
1. Check Both Brake Levers
With the bike powered off, squeeze each lever individually and release it.
Both should move normally and return completely. If one feels sticky or damaged, correct the mechanical brake issue before continuing.
2. Check the Display
Turn the bike on while keeping the bike stationary.
Some displays show a brake symbol or error when a brake signal is active. If yours does, note whether that indication remains on with both levers fully released.
Not every e-bike display provides this information.
3. Inspect Accessible Connectors
Turn the bike off again.
Check accessible brake cutoff connectors for:
- A connection that is not fully seated.
- Bent or damaged pins.
- Dirt or corrosion.
- Moisture.
- Cracked housings.
- Pinched or stretched wiring.
Do not force waterproof connectors together. Many keyed e-bike connectors can be damaged if they are misaligned.
4. Check What Happens When the Bars Turn
With the bike stationary, inspect the wiring while slowly turning the handlebars from side to side.
A cable should not become sharply stretched, crushed, or pulled at full steering lock.
If a fault appears only with the bars in a certain position, treat that as a reason to inspect the wiring and connectors more closely. It does not by itself prove the wire is broken.
5. Think About What Changed
A recent change can be an important clue.
Ask whether the problem started after:
- Brake adjustment.
- Brake lever replacement.
- Handlebar work.
- Display or controller service.
- Transport on a rack.
- A fall or collision.
- Heavy rain.
- Washing the bike.
- Disconnecting and reconnecting wiring.
Inspect the affected area first.
What Happens If I Unplug the Brake Sensor?
Do not assume disconnecting a brake sensor will have the same result on every e-bike.
Different controllers and sensors can use different electrical logic. A disconnected sensor may cause the motor to operate normally on one system, trigger an error on another, or behave differently altogether.
Some manufacturers use temporary sensor disconnection as part of a specific troubleshooting procedure. If your bike's manufacturer provides such a procedure, follow it exactly and turn the bike off before disconnecting or reconnecting anything.
Do not treat a disconnected brake cutoff sensor as a permanent repair.
If the bike was designed with a brake cutoff system, the goal should be to restore the system to its intended operation unless the manufacturer explicitly specifies otherwise.
🎬 Watch: How to Repair an E-Bike Brake Sensor
This video gives you a visual look at replacing an e-bike brake sensor and can be helpful if your troubleshooting points to a faulty sensor. Keep in mind that brake sensor designs vary by bike, so follow the instructions for your specific e-bike and brake system.
Brake Sensor Error Codes
Brake-related error codes are not standardized across the e-bike industry. The same number can mean something completely different depending on the motor system, controller, display, and bike manufacturer.
Here are a couple of verified Bafang examples:
- Bafang Error 33 - Brake signal/brake detection circuit fault: On Bafang systems that use brake sensors, Error 33 indicates a problem with the brake signal or brake detection circuit. Bafang recommends checking the brake-related connectors first.
- Bafang CF04 - E-brake cannot work: Bafang also lists CF04 under its common system faults for an e-brake that is not functioning correctly. This is a Bafang fault designation and may not appear as a standard display error code on every Bafang-equipped bike.
Do not assume these codes have the same meaning on another e-bike. Always check the manual for your exact bike, display, controller, or motor system before replacing a sensor or other component.
Not sure what your error code means? Use my E-Bike Error Code Finder to search by code, system, or symptom and see what to check first. The tool also reminds riders that error-code meanings can vary between different e-bike systems.
When searching for an error code elsewhere, include your bike brand/model or display/motor system along with the number. Searching for the error number by itself can easily lead you to instructions for a completely different system.
Before Replacing the Sensor
A new sensor should not be the first step unless damage is obvious or the manufacturer has already isolated the fault.
Check:
- Brake lever return.
- Sensor or magnet alignment where applicable.
- Accessible connectors.
- Cable routing.
- Recent repair work.
- Correct error-code definition.
- Manufacturer troubleshooting instructions.
- Exact replacement-part compatibility.
A sensor that appears "stuck" may simply need proper adjustment on a system designed to allow sensor adjustment.
Replacement-Part Compatibility Matters
Do not buy a replacement brake cutoff sensor simply because the connector looks identical.
Before ordering, verify:
- E-bike make and model.
- Controller or electrical system.
- Brake manufacturer and model.
- Sensor type.
- Connector type.
- Manufacturer part number when available.
- Whether the replacement is specifically listed as compatible.
Two connectors can physically fit while having different pin assignments or electrical behavior.
An OEM part or a replacement explicitly approved for the exact system is the safest choice.
Parts That May Actually Be Involved
Depending on the bike, the eventual repair could involve:
- Brake cutoff sensor.
- Sensor magnet.
- Brake lever assembly.
- Connector or extension cable.
- Main wiring harness.
- Damaged brake component.
- Controller-side wiring.
Do not replace several electrical parts at random. Isolating the actual fault is usually cheaper and reduces the chance of introducing a second problem.
Advanced Diagnosis for Experienced Owners
If the basic checks do not solve the problem, electrical testing should be based on documentation for the exact system.
An experienced technician may use a manufacturer wiring diagram, service manual, and appropriate test equipment to determine whether the brake signal changes correctly as the lever moves.
I do not recommend randomly shorting connector pins, jumping wires, applying voltage to unknown pins, or using generic wiring diagrams from a different bike.
If you do not have the correct documentation, stop before advanced electrical testing and contact the manufacturer or a qualified e-bike technician.
What Not to Do
- Do not permanently bypass a brake cutoff sensor just to restore motor power.
- Do not short unknown connector pins together.
- Do not apply voltage to an unidentified signal wire.
- Do not cut into the wiring harness unless an approved repair procedure requires it.
- Do not open the battery pack.
- Do not force mismatched connectors together.
- Do not assume an error code is universal.
- Do not contaminate brake pads or rotors with oil or lubricant.
- Do not ride a bike with weak, dragging, damaged, or unreliable brakes.
Post-Repair Safety Test
After a sensor adjustment or repair, confirm both the mechanical brake and electrical cutoff behavior before returning to normal riding.
- With the bike powered off, operate both brake levers and confirm normal movement and braking feel.
- Check that neither lever sticks or returns slowly.
- Power the bike on while it remains stationary.
- Confirm that any previous brake indicator or brake-related error has cleared.
- Follow the manufacturer's specified procedure for checking each brake cutoff sensor.
- Confirm the electrical system returns to its normal state after each lever is released.
- Only after confirming normal mechanical braking should you perform a very low-speed test in a clear, controlled area.
- Test each brake normally and confirm motor assistance behaves as intended.
Do not begin with a high-speed road test.
A Simple Diagnostic Decision Tree
Motor will not run
↓
Does the bike have brake cutoff sensors?
- No or unsure → Check the owner's manual and continue with general motor troubleshooting.
- Yes → Continue.
↓
Does a brake lever fail to return normally?
- Yes → Fix the mechanical brake issue first.
- No → Continue.
↓
Does the display show a brake indication or brake-related error?
- Yes → Check the exact manufacturer's error definition.
- No or display has no indicator → Continue.
↓
Are accessible connectors loose, wet, damaged, or strained?
- Yes → Correct the connection according to manufacturer guidance.
- No → Continue.
↓
Did the problem start after brake work, a crash, transport, rain, washing, or handlebar work?
- Yes → Inspect the affected area carefully.
- No → Continue.
↓
Manufacturer troubleshooting does not isolate the fault
→ Contact the manufacturer, dealer, or a qualified e-bike technician.
When to Call a Shop or the Manufacturer
Stop owner-level troubleshooting if:
- A brake does not work normally.
- The brake lever or master cylinder is damaged.
- Wiring is melted, badly crushed, or exposed.
- Connector pins are broken.
- Water intrusion appears significant.
- The problem involves internal controller wiring.
- The manufacturer requires electrical measurements you are not comfortable performing.
- The correct replacement part cannot be identified.
- The cutoff fails to activate when the brake is applied.
- The fault keeps returning after connections are checked.
A qualified technician can determine whether the problem is mechanical, sensor-related, wiring-related, or controller-related without replacing parts unnecessarily.
How to Prevent Brake Cutoff Problems
A few habits can reduce intermittent faults:
- Do not pull on electrical cables when adjusting the handlebars.
- Check cable routing after changing stem or handlebar position.
- Keep waterproof connectors fully seated and correctly aligned.
- Avoid directing high-pressure water at electrical connectors.
- Inspect wiring after a crash or rough transport.
- Pay attention to a brake lever that starts returning more slowly than normal.
- Use the correct replacement brake and electrical parts for the bike.
- Address intermittent faults before they become permanent.
Want to See More Electric Bike Explorer in Google Search?
Add Electric Bike Explorer as a preferred source to see more of our e-bike law guides, safety updates, reviews, buying guides, and troubleshooting posts when they are relevant to your searches.
Frequently Asked Questions
Can I ride an e-bike with the brake cutoff sensor disconnected?
Some e-bikes are designed without brake cutoff sensors, but that is different from deliberately disconnecting a cutoff system that was part of the bike's original design.
If your bike was built with brake cutoff sensors, repair the fault rather than assuming disconnection is an acceptable permanent solution. Check with the manufacturer if you are unsure.
Why does the fault happen only when I turn the handlebars?
That pattern can point toward cable strain, a loose connection, or damaged wiring near the handlebar area. It is a clue rather than a definite diagnosis.
Inspect the cable routing with the bike powered off.
Can rain cause a brake cutoff sensor problem?
Moisture at an electrical connector can contribute to an intermittent connection fault. That does not mean rain automatically damages a brake sensor.
If the problem started after wet conditions or washing, turn the bike off and inspect accessible connections according to the manufacturer's instructions.
Do hydraulic e-bike brakes have cutoff sensors?
Some do and some do not.
The presence of hydraulic brakes does not tell you by itself whether the bike has motor cutoff sensors. Check the brake model, bike specifications, or owner's manual.
Why does my e-bike think the brake is always on?
Possible causes include a brake lever that is not returning fully, sensor misalignment on compatible systems, a connector problem, damaged wiring, or a failed sensor. Start with the lever and accessible connections before replacing parts.
Can a bad brake sensor stop pedal assist and the throttle?
On systems where the brake cutoff tells the controller to inhibit motor output, an active brake signal can prevent motor assistance. Exactly which motor functions are affected depends on the bike and controller.
Related E-Bike Troubleshooting Resources
For broader electrical and motor problems, use the E-Bike Troubleshooting and Maintenance Guide.
You can also visit the E-Bike Tools Hub for additional calculators and diagnostic resources.
Sources and Safety References
- Tektro e-bike brake sensor replacement documentation
- Bafang display and brake-signal error documentation
- U.S. Consumer Product Safety Commission micromobility safety information
Manufacturer instructions for your exact bike, controller, display, and brake system should take priority over generic troubleshooting advice.

Kristina is not just an enthusiast but a true authority on electric bikes. Nestled in the coastal beauty of Virginia, Kristina has found the perfect backdrop for her passion for electric biking. As a dedicated wife and homeschooling mom, her life revolves around family, faith, and the thrill of adventure.
Originally hailing from Ohio, Kristina's journey with electric bikes began as a curiosity and quickly evolved into a deep expertise. Her blog is a testament to her love for electric biking, combining her fascination for eco-friendly transportation with her coastal lifestyle.
When she's not cruising the beach on her electric bike, you'll find Kristina indulging in her other loves: long walks along the shore, getting lost in a good book, and cherishing moments with her loved ones. With a heart as big as her love for animals, especially cats, Kristina brings a unique perspective to the electric bike world, grounded in her strong faith in God and her dedication to a sustainable lifestyle.
Through her blog, Kristina shares her extensive knowledge of electric bikes, offering valuable insights, tips, and recommendations to fellow enthusiasts. Whether you're a seasoned rider or a newcomer to the electric bike scene, Kristina's blog is your go-to source for all things electric biking, fueled by her passion, expertise, and the scenic beauty of coastal Virginia.