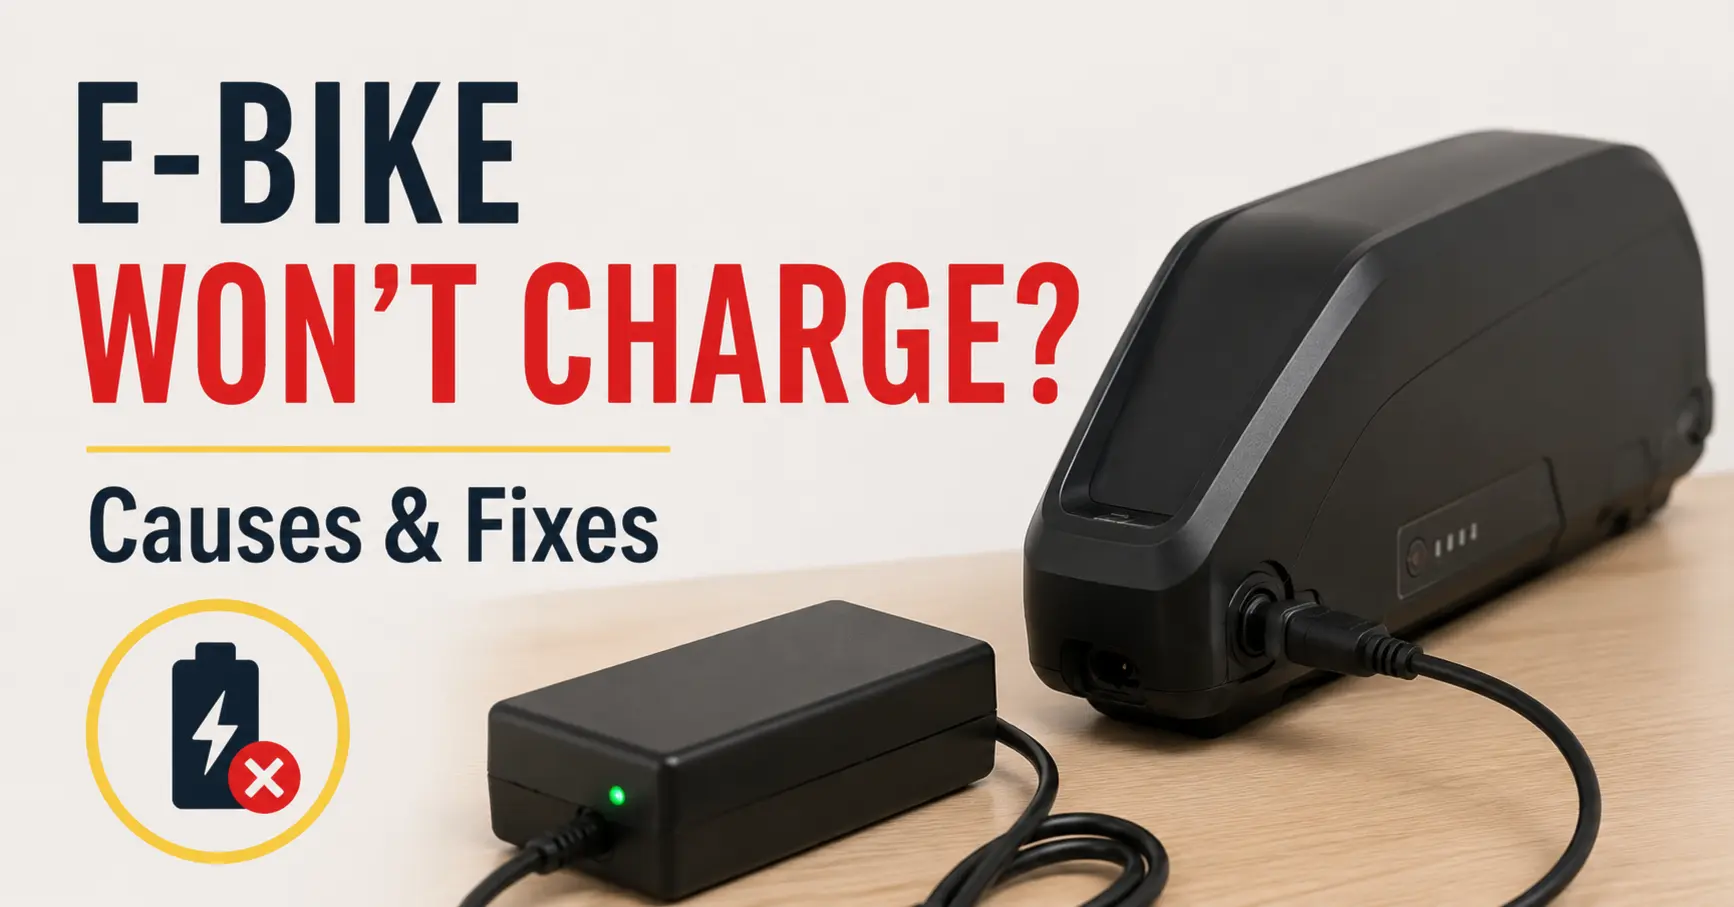
Why Won’t My E-Bike Charge? Complete Troubleshooting Guide
Few things are more frustrating than plugging in your e-bike after a ride only to discover the battery isn’t charging. Whether your charger light stays green, the battery won’t respond at all, or your electric bike suddenly stopped charging after sitting in storage, it’s easy to assume the battery has failed.
Fortunately, that isn’t always the case.
In my experience, many e-bike charging problems are caused by something much simpler, such as a faulty charger, dirty charging contacts, a battery that’s too hot or too cold, or a loose connection. Working through a few basic troubleshooting steps can often save you from replacing an expensive battery unnecessarily.
In this guide, I’ll walk you through how to diagnose the most common reasons an e-bike won’t charge, explain what you can safely check yourself, and help you decide when it’s time to contact the manufacturer.
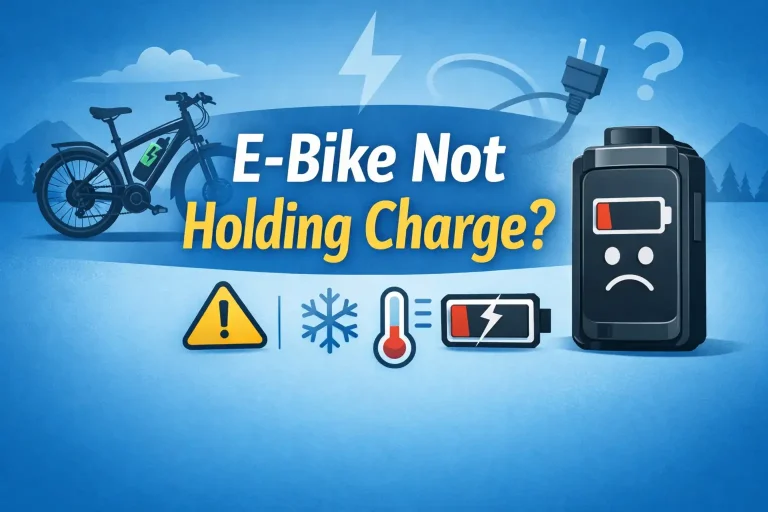
If your battery charges normally but no longer provides the range it once did, I also recommend reading my guide on E-Bike Not Holding Charge? Causes, Fixes & When to Replace the Battery. ou can also learn how to maximize battery life in my How Often Should You Charge Your E-Bike Battery? guide.
What to Check First
If your e-bike won’t charge, the problem is usually one of five things:
- A faulty wall outlet
- A damaged or failed charger
- A battery that’s too hot or too cold to charge safely
- Dirty or damaged charging contacts or ports
- A battery that has reached the end of its useful life
Fortunately, many charging problems can be diagnosed at home before you spend money replacing an expensive battery. In this guide, I’ll walk you through the same troubleshooting process I would use to figure out why an electric bike battery isn’t charging and what you can do to get back on the road.
If you’re looking for additional troubleshooting help, be sure to visit my E-Bike Troubleshooting Hub, where I’ve put together guides covering battery issues, motor problems, displays, controllers, brakes, and many other common e-bike problems.
Quick Troubleshooting Table
Sometimes the symptoms can point you in the right direction immediately.
We’ll cover each of these situations in detail below.
| Problem | Possible Cause | First Thing to Check |
|---|---|---|
| Battery won’t charge | Charger, battery, or charging connection | Test the outlet, charger, and charging port |
| Charger has no lights | No power or failed charger | Try another outlet |
| Charger stays in standby mode | Poor battery connection | Inspect charging port and connector |
| Battery won’t charge after storage | Sleep mode or deep discharge | Check owner’s manual |
| Battery charges slowly | Temperature protection | Bring battery indoors |
| Bike won’t recognize the battery | Poor connection or BMS | Reinstall the battery |
| Charger gets extremely hot | Charger failure | Stop using it immediately |
Why You Can Trust Electric Bike Explorer
At Electric Bike Explorer, I spend countless hours researching electric bikes, testing products, speaking with manufacturers, and helping riders troubleshoot common e-bike problems.
I know how frustrating it is when you plug your bike in and nothing happens. Before replacing one of the most expensive components on your e-bike, it’s important to rule out the simple causes first. I’ve seen plenty of situations where the charger, outlet, or even a loose connection turned out to be the real problem.
My goal is to help you diagnose the issue safely while avoiding unnecessary replacement costs whenever possible.
Before You Assume the Battery Is Bad
One of the biggest mistakes I see riders make is assuming the battery has failed simply because it won’t charge.
In reality, several different components work together every time you charge your e-bike. If any one of them isn’t functioning correctly, the battery may never begin charging even if it’s perfectly healthy.
The charging system includes:
- The wall outlet
- Charger power brick
- Charging cable
- Charging connector
- Charging port
- Battery Management System (BMS)
- Battery cells
- Bike wiring (on some models)
That’s why I always recommend working through a systematic troubleshooting process instead of immediately shopping for a replacement battery.
📖 Read Next
How to Choose the Best eBike Battery for Your Commute (With Top Picks)
Understanding E-Bike Battery Capacity: Amp Hours (Ah) Explained
5 Signs It’s Time to Replace Your E-Bike Battery
The Ultimate Guide to Electric Bike Chargers: Types, Features, and Recommendations
Why Your E-Bike Battery Loses Charge Overnight — and How to Fix It
How Long Do E-Bike Batteries Last?
E-Bike Battery Charging Mistakes
E-Bike Battery Health Checker
Common Signs Your E-Bike Has a Charging Problem
Different charging issues often produce different symptoms.
You may notice:
- Battery won’t charge at all
- Charger light stays green
- Charger light never comes on
- Charger flashes red
- Battery percentage never increases
- Battery charges extremely slowly
- Charger becomes unusually hot
- Battery won’t power on after charging
- Bike won’t recognize the battery
- Battery suddenly stopped charging after storage
Each symptom can point toward a different cause, which we’ll troubleshoot step by step.
Safety First Before Troubleshooting
Lithium-ion batteries are generally very safe when they’re used, charged, and stored correctly, but they should always be treated with respect.
Stop troubleshooting immediately if you notice:
- Battery swelling
- Cracks in the battery case
- Smoke
- Burning smell
- Leaking fluid
- Excessive heat
Do not continue trying to charge a damaged battery.
Instead, move it to a safe location away from combustible materials and contact the battery or bike manufacturer for further instructions.
Step 1 – Check the Wall Outlet
It sounds almost too simple, but I always start here.
I’ve personally had electronics that appeared broken when the problem turned out to be a tripped breaker or a faulty outlet.
Try plugging another device into the same outlet, such as:
- A lamp
- A phone charger
- A fan
- A laptop charger
If the outlet doesn’t work, you’ve already found the problem.
If necessary:
- Try another outlet.
- Avoid overloaded power strips.
- Reset any GFCI outlet.
- Check your home’s circuit breaker.
Many garage, basement, and outdoor outlets are protected by GFCI outlets that can trip unexpectedly.
Step 2 – Verify the Charger Has Power
Next, inspect your charger.
Most e-bike chargers have an LED indicator that shows the charging status.
Many chargers use:
- Green to indicate standby or that the battery is fully charged.
- Red to indicate charging.
However, charger indicator colors vary by manufacturer, so always refer to your owner’s manual for your specific charger.
If your charger never lights up—even when it’s disconnected from the bike—it may have failed or may not be receiving power.
Inspect the Charger Carefully
Look for:
- Frayed cables
- Bent connectors
- Burn marks
- Loose plugs
- Cracked charger housing
Even minor cable damage can interrupt charging.
If you’ve accidentally dropped the charger, internal components may also have been damaged even if the outside looks fine.
Step 3 – Check the Charging Port
The charging port is another surprisingly common source of charging problems.
Over time it can collect:
- Dust
- Dirt
- Moisture
- Corrosion
- Debris
Even something as small as a grain of sand can prevent proper electrical contact.
Inspect the Charging Port
Use a flashlight and carefully look for:
- Bent pins
- Corrosion
- Dirt buildup
- Broken plastic
- Loose connector
If the port appears dirty, gently clean it using:
- Compressed air
- A soft, dry brush
- A clean microfiber cloth
If you notice light corrosion, check with your bike manufacturer before using any electrical contact cleaner, as some products aren’t recommended for every battery system.
Avoid using metal tools that could damage the charging pins.
Never spray water directly into the charging port or use a pressure washer around the charging connector.
Check for Moisture
If you recently rode in heavy rain or washed your e-bike, moisture inside the charging port could prevent proper charging.
Before connecting the charger:
- Allow the charging port to dry completely.
- Inspect the connector for trapped moisture.
- Make sure the protective charging port cover is in good condition.
Never attempt to charge the battery if you can see water inside the charging connector.
Make Sure the Charger Is Fully Inserted
This sounds obvious, but many e-bike charging connectors require more pressure than people expect.
I’ve seen riders think their battery wasn’t charging when the connector simply wasn’t fully seated.
Push the connector in firmly without forcing it.
Some charging ports also use threaded collars or locking mechanisms that must be fully tightened before charging begins.
🔧 Helpful Tools for Diagnosing Charging Problems
Then include one item per line, just like you’ve been doing.
- Electrical Contact Cleaner (manufacturer approved) – Can help remove light corrosion from some charging contacts when recommended by the manufacturer.
- Multimeter – Useful for checking charger output and verifying battery voltage (only if you’re comfortable using one).
- Can of Compressed Air – Blows dust and debris out of charging ports without touching the electrical contacts.
- Microfiber Cleaning Cloth – Safely cleans battery contacts, charging ports, and connectors.
- Flashlight or Headlamp – Makes it much easier to inspect charging pins for dirt, corrosion, or damage.
Step 4 – Make Sure the Battery Is Within the Proper Temperature Range
One of the most overlooked reasons an e-bike battery won’t charge is temperature.
Lithium-ion batteries have built-in safety protections that can prevent charging if the battery is too hot or too cold. This helps protect the battery cells from damage and can extend the battery’s lifespan.
Most manufacturers recommend charging lithium-ion e-bike batteries at temperatures above about 41°F (5°C) and below 95°F (35°C), although you should always follow your specific battery manufacturer’s recommendations.
If you’ve just finished a long ride on a hot day, let the battery cool down indoors before plugging it in.
Likewise, if your battery has been stored in a cold garage or shed during the winter, allow it to warm up to room temperature naturally before attempting to charge it.
Never try to warm a battery with a space heater, hair dryer, heating pad, or other direct heat source. Allow it to return to room temperature on its own.
Step 5 – Confirm the Battery Is Properly Seated
If your e-bike has a removable battery, remove it and reinstall it.
I’ve seen cases where a battery appeared to be locked into place but wasn’t making full contact with the electrical terminals.
When reinstalling the battery:
- Make sure it slides fully into place.
- Listen for the locking mechanism to click, if applicable.
- Confirm the battery is fully seated.
- Check that it doesn’t wiggle excessively.
While the battery is removed, inspect both the battery contacts and the bike’s contacts.
Look for:
- Dirt
- Corrosion
- Bent terminals
- Burn marks
- Moisture
If the contacts are dirty, gently wipe them with a clean, dry microfiber cloth.
If you notice light corrosion, consult your manufacturer before using an electrical contact cleaner, as some products may not be recommended for every battery system.
Avoid scraping or sanding the contacts, which could damage their protective coating.
Step 6 – Check the Battery Lock
Some removable batteries include a locking mechanism that secures the battery to the frame.
Depending on the manufacturer, the battery may need to be fully locked into position before it can make proper electrical contact.
If your bike uses a keyed battery lock:
- Make sure the battery is fully inserted.
- Verify the key has been turned to the correct locked position after installation.
- Remove and reinstall the battery if you’re unsure it’s seated correctly.
While this isn’t common on every e-bike, I’ve seen improperly seated or unlocked batteries prevent the bike from recognizing the battery correctly.
Step 7 – Check Whether the Battery Has Entered Sleep Mode
Some e-bike batteries include a low-power storage or sleep mode that helps reduce battery drain during long periods of storage.
Not every battery includes this feature, so consult your owner’s manual if you suspect your battery has entered sleep mode.
Depending on the manufacturer, the battery may need to be awakened before it will begin charging.
Some batteries wake up automatically when the charger is connected, while others may require:
- Pressing the battery’s power button.
- Holding the power button for several seconds.
- Installing the battery on the bike before charging.
- Following a manufacturer-specific wake-up procedure.
If your bike has been sitting unused for several months, this could be the reason it won’t charge.
Step 8 – Check for Battery Management System (BMS) Protection
Every quality lithium-ion e-bike battery contains a Battery Management System, commonly called a BMS.
The BMS acts like the battery’s built-in safety computer.
It constantly monitors:
- Battery voltage
- Charging current
- Temperature
- Cell balance
- Short circuits
- Overcurrent protection
If the BMS detects something outside its safe operating limits, it may temporarily stop charging.
This doesn’t necessarily mean the battery is defective.
Common reasons the BMS may interrupt charging include:
- The battery became too hot.
- The battery became too cold.
- The battery voltage dropped too low during storage.
- A charging fault was detected.
- One or more battery cells became unbalanced.
In some cases, removing the battery (if it’s removable), allowing it to rest, and reconnecting it later may clear a temporary protection event.
However, if the BMS repeatedly enters protection mode, it’s usually a sign that another issue needs to be diagnosed rather than simply reset.
Step 9 – Check for a Blown Battery Fuse (If Your Battery Has One)
Some e-bike batteries include an internal or external fuse that helps protect the electrical system from excessive current.
Not every battery has a user-serviceable fuse, and many modern batteries have sealed battery packs that should only be opened by the manufacturer or an authorized service center.
If your battery does have an accessible fuse, consult your owner’s manual for its location and replacement procedure.
A blown fuse can sometimes prevent the battery from charging or powering the bike.
If you’re unsure whether your battery has a replaceable fuse, avoid opening the battery case yourself. Lithium-ion battery packs contain a tremendous amount of stored energy and can be dangerous if they’re damaged or improperly handled.
Step 10 – What If the Charger Light Stays Green?
One of the questions I receive most often is:
“My charger stays green, but my battery won’t charge.”
On many e-bike chargers, a green light indicates either standby mode or that the battery is fully charged. However, charger indicator lights vary by manufacturer.
If the charger remains in its standby mode after being connected to the battery, common causes include:
- The charger isn’t making good contact with the battery.
- The battery is already fully charged.
- The Battery Management System has temporarily stopped charging.
- The battery voltage is too low for the charger to recognize.
- The charger itself has failed.
Start by checking that the charging connector is fully inserted.
Then inspect the charging port for dirt, damage, or moisture.
If possible, test the charger on another compatible battery or test your battery using another compatible charger. This is often the fastest way to determine whether the charger or the battery is causing the problem.
Never use a charger that isn’t specifically approved for your battery’s voltage and connector type.
What If the Charger Never Changes to Charging Mode?
Many chargers use one color while waiting and another while actively charging.
If your charger never changes to its charging indicator after it’s connected to the battery, the charger may not be detecting the battery at all.
Possible causes include:
- Dirty charging contacts
- Loose connector
- Damaged charging port
- Faulty charger
- Battery fault
- BMS protection mode
Work through each troubleshooting step before assuming the battery needs replacement.
What If the Charger Gets Very Hot?
Most e-bike chargers become warm while charging, and that’s perfectly normal.
However, they should not become excessively hot, emit a burning smell, smoke, or show signs of melting or swelling.
If you notice any of these warning signs:
- Unplug the charger immediately.
- Disconnect it from the battery.
- Allow it to cool completely.
- Stop using it until it has been inspected or replaced.
A failing charger can damage your battery and may create a safety hazard if you continue using it.
My Recommendation Before Replacing Anything
Whenever someone tells me their e-bike won’t charge, I encourage them to slow down and troubleshoot the problem methodically instead of immediately assuming the battery has failed.
In my experience, many charging problems turn out to be something much simpler, such as a loose connection, a dirty charging port, or a charger that’s stopped working. Those issues are usually much less expensive to fix than replacing an entire battery.
Taking a few extra minutes to work through each step can save a significant amount of money while helping you avoid replacing parts that are still working perfectly.
🎥 Watch: This video demonstrates several common reasons an e-bike battery may not charge, including how to test the charger with a multimeter. While it’s a helpful troubleshooting resource, I do not recommend opening or attempting to repair a lithium-ion battery pack yourself. If your battery appears damaged or requires internal repairs, contact the manufacturer or an authorized service center instead.
Step 11 – Determine Whether the Battery Has Reached the End of Its Lifespan
If you’ve worked through all of the previous troubleshooting steps and your e-bike battery still won’t charge, it’s possible the battery itself has reached the end of its useful life.
Like any rechargeable lithium-ion battery, e-bike batteries gradually lose capacity over time. How long they last depends on several factors, including:
- Number of charge cycles
- Charging habits
- Storage conditions
- Riding environment
- Battery quality
Most quality lithium-ion e-bike batteries are designed to provide about 500 to 1,000 full charge cycles before dropping to roughly 60% to 80% of their original capacity, although some premium battery systems may exceed this under ideal conditions.
That doesn’t necessarily mean the battery will suddenly stop working after reaching that point. Instead, you’ll usually notice reduced range and performance long before the battery completely fails.
Signs your battery may be nearing the end of its lifespan include:
- It no longer accepts a charge.
- Charging stops unexpectedly.
- The battery loses power very quickly.
- Your riding range has dropped significantly.
- The battery powers off without warning.
- The battery is several years old and has been used frequently.
If your battery still charges but doesn’t last nearly as long as it used to, I recommend reading my guide:
E-Bike Not Holding Charge? Causes, Fixes & When to Replace the Battery
🔋 Think You Might Need a New Battery?
If your battery has reached the end of its lifespan, replacement costs can vary widely depending on your bike and battery size.
Try my E-Bike Battery Replacement Cost Calculator to estimate what you can expect to pay before shopping for a replacement.
Step 12 – Test with a Known Good Charger (If Possible)
One of the easiest ways to narrow down the problem is by testing with another compatible charger.
If a second charger works, you’ve likely found the culprit.
If the battery still refuses to charge with a known working charger, the issue is more likely related to:
- The battery
- The Battery Management System (BMS)
- The charging port
- Internal wiring
Only use a charger that’s approved for your battery’s:
- Voltage
- Connector type
- Charging specifications
Using the wrong charger can damage the battery and may create a fire hazard.
Before purchasing a replacement battery, make sure you’ve ruled out the charger. Chargers fail more often than many riders realize, and replacing one is usually much less expensive than buying a new battery.
Step 13 – Check for Error Codes
Many modern e-bikes include diagnostic systems that display error codes on the handlebar display.
If your bike displays an error while charging or when powering on, consult your owner’s manual to determine what the code means.
Depending on the manufacturer, the error may point to:
- Battery communication issues
- Controller faults
- Motor system problems
- Charging system errors
- Temperature protection
Some manufacturers also provide troubleshooting information on their websites that explains common error codes.
When Should You Contact the Manufacturer?
If you’ve completed the troubleshooting steps in this guide and your battery still won’t charge, it’s time to contact the manufacturer or an authorized dealer.
Have the following information ready before you call or email:
- Bike model
- Battery model
- Charger model
- Purchase date
- Serial number (if available)
- Photos of the battery, charger, and charging port
- Any error codes shown on the display
If your bike is still under warranty, I generally recommend avoiding any repairs that involve opening the battery pack yourself. Doing so could void your warranty and may expose you to potentially dangerous battery components.
How to Prevent Future Charging Problems
While not every charging issue can be prevented, a few good habits can go a long way toward extending the life of both your battery and charger.
I recommend:
- Charging the battery indoors whenever possible.
- Avoiding extremely hot or freezing temperatures during charging.
- Keeping the charging port clean and dry.
- Inspecting the charger periodically for damaged cables or connectors.
- Using only chargers approved for your battery.
- Avoiding cheap aftermarket chargers that don’t meet the manufacturer’s specifications.
If you’re storing your bike for several weeks or longer, many manufacturers recommend leaving the battery at approximately 30% to 60% charge rather than completely full or completely empty. Always follow your battery manufacturer’s storage recommendations.
For more battery care tips, be sure to read my guide:
How Often Should You Charge Your E-Bike Battery?
If you’re trying to budget for a replacement battery, my E-Bike Battery Replacement Cost Calculator can also help estimate what you might expect to pay.
FAQs
This is often caused by one of several issues: the battery entered a low-power sleep mode, the battery became deeply discharged during storage, cold temperatures are preventing charging, moisture or corrosion developed around the charging contacts.
Allow the battery to warm to room temperature and follow the manufacturer’s recommended wake-up procedure if your battery supports one.
On many chargers, a green light indicates standby mode or a fully charged battery.
If the light stays green after connecting the battery, common causes include: loose connector, dirty charging port, faulty charger, battery protection mode, battery failure.
Because charger indicator lights vary by manufacturer, always refer to your owner’s manual for your specific charger.
Sometimes—but only if the battery entered a protective sleep mode or the Battery Management System temporarily disabled charging.
If the battery has remained deeply discharged for an extended period, permanent damage becomes much more likely.
Unfortunately, there’s no guarantee that a deeply discharged lithium-ion battery can be safely recovered.
Many modern e-bike batteries include Battery Management Systems that stop charging once the battery reaches full capacity.
Even so, I generally prefer unplugging the charger once charging is complete rather than leaving it connected for long periods. It’s a simple habit that follows many manufacturers’ recommendations and reduces unnecessary wear on the charger.
No.
Always use a charger that’s approved for your battery’s voltage, connector type, and charging specifications.
Using an incompatible charger can damage the battery and create a serious safety hazard.
Most quality e-bikes are designed to handle normal riding in wet conditions.
However, moisture inside the charging port can interfere with charging.
Before plugging in the charger:
Make sure the charging port is completely dry.
Inspect it for dirt or corrosion.
Verify the rubber charging port cover is still in good condition.
My Take
When someone tells me their e-bike won’t charge, I always encourage them not to assume the battery is the problem right away.
Because the battery is one of the most expensive parts of an e-bike, it’s easy to jump to the worst-case scenario. But in my experience, many charging issues turn out to be something much simpler, like a faulty charger, dirty charging contacts, moisture in the charging port, or a loose connection.
That’s why I recommend working through the troubleshooting steps in this guide one at a time. A systematic approach can save you both money and frustration while helping you avoid replacing parts that are still working perfectly.
If you’ve checked the outlet, charger, charging port, battery connections, and temperature without finding the problem, don’t continue experimenting with a battery that shows signs of damage, swelling, overheating, or leaking. At that point, it’s safest to contact the manufacturer or an authorized service center for further diagnosis.
Most charging problems have a logical explanation. Taking the time to troubleshoot carefully can help you identify the real cause, protect your investment, and keep your e-bike riding reliably for years to come.
Disclosure: As an Amazon Associate, I earn from qualifying purchases. This comes at no extra cost to you and helps support the content on this site.
Not sure where to go next?
Some riders are brand new. Others are fixing a problem or thinking about a new bike. Choose what fits you.
Learn & Get Comfortable
Understand how e-bikes work and what to expect when riding.
Improve Your Current Ride
If your bike isn’t performing how you want, learn what affects speed, range, and power.
Compare Better Bikes
Looking for something that fits your riding style? Start here.
- Best Electric Bikes for Beginners
- Recommended Commuter Ebikes
- Most Comfortable City E-Bikes
- Best Fat Tire Ebikes
- Top Folding Ebikes
- Best Step Through Ebikes
- Top Cargo Electric Bikes
- Best Lightweight Ebikes
- Best Long Range Ebikes
- Top Moped Style E-Bikes
- E-bike Reviews
🛒 Ready to Buy?
Top picks and current availability from trusted brands.
👉 Still deciding?
Take our E-Bike Recommendation Quiz to get matched with the right riding style in under two minute
External Resources
If you’d like to learn more about lithium-ion battery safety and best practices, these organizations provide reliable information:
- National Fire Protection Association (NFPA) – Lithium-Ion Battery Safety
- U.S. Consumer Product Safety Commission – E-Bike and Lithium-Ion Battery Safety
- U.S. Department of Energy – Electric Vehicle Battery Basics
- PeopleForBikes – Bicycle and E-Bike Resources
Kristina is not just an enthusiast but a true authority on electric bikes. Nestled in the coastal beauty of Virginia, Kristina has found the perfect backdrop for her passion for electric biking. As a dedicated wife and homeschooling mom, her life revolves around family, faith, and the thrill of adventure.
Originally hailing from Ohio, Kristina's journey with electric bikes began as a curiosity and quickly evolved into a deep expertise. Her blog is a testament to her love for electric biking, combining her fascination for eco-friendly transportation with her coastal lifestyle.
When she's not cruising the beach on her electric bike, you'll find Kristina indulging in her other loves: long walks along the shore, getting lost in a good book, and cherishing moments with her loved ones. With a heart as big as her love for animals, especially cats, Kristina brings a unique perspective to the electric bike world, grounded in her strong faith in God and her dedication to a sustainable lifestyle.
Through her blog, Kristina shares her extensive knowledge of electric bikes, offering valuable insights, tips, and recommendations to fellow enthusiasts. Whether you're a seasoned rider or a newcomer to the electric bike scene, Kristina's blog is your go-to source for all things electric biking, fueled by her passion, expertise, and the scenic beauty of coastal Virginia.